
January 2004: New Bodywork
I decided that the rear bodywork on the car had become very tatty. That is to say it had been attacked by the garage door a few times and was splitting on the front of the wheelarches at the same time.
The decision was taken to replace the entire rear section and the front cyclewings - at the time of writing I have not done the front wings as yet but the rear section is now replaced.
Removing the old bodywork
Now in theory this is very simple to do - undo the retaining bolts on the existing panel and fit a new section in its place - or at least it should be.
Unfortunately do to space requirements I had to do the job on the drive outside the house and a good 200yds from where my garage is located. This wouldn't have been too bad apart from the weather conspiring against me all the time. The old bodywork came off fairly easily and without too much work - I merely needed to drill out the 20 rivets on the drivers side and 21 on the passenger side(!). Then remove the wiring to the rear lights and disconnect the fuel tank filler. This was all done in about 2 hours.
Suprisingly the rear of the car was only dirty with very little rust on the chassis. A quick clean with a bucket of water saw this ready for the new panels.
Fitting the new panel
Now anyone who has fitted these panels knows that there is a certain ammount of trimming required before the panel can see square on the chassis. When you are refitting it is worse as you have to make sure that all the old holes line up exactly. To this end I made the decision to change the mountings from my strange number of pop rivets to rivnuts (or nutserts) and dome headed M6 allen bolts. I also significantly reduced the number of fixings down to 5 on each side. You can see this in the picture below.
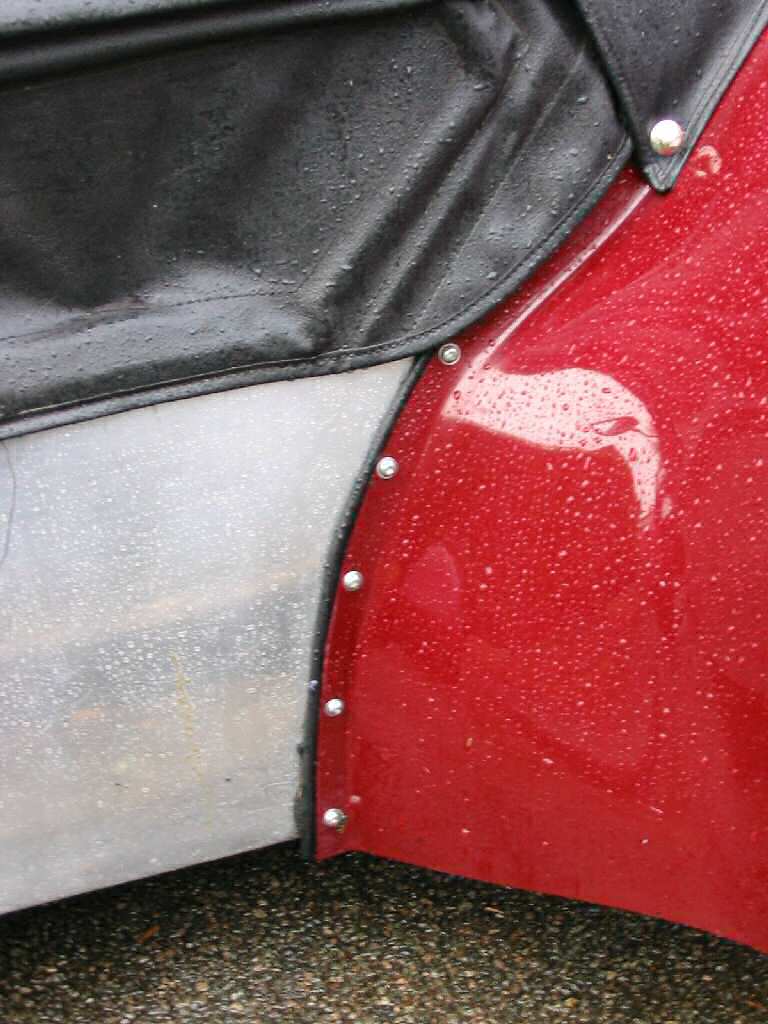
|
The bodywork was then temporarily fitted and trimmed to suit the chassis before being removed and painted on the inside with Carlife Rubbercoat. It then had to be left to dry for 48 hours - the bodywork being in the garage and kept dry with the car sitting in the drive under a tarpaulin!
Once dry the bodywork was rejoined and bolted to the car and the fuel filler neck was then cut and shaped to the correct size, this could only be done when I was sure the body wouldn't move. I also at this time took the opertunity to change the bottom fixings of the hood to Temex(tm) fasteners - these ingenious devices cannot be pulled open as they lock to the mounting stud fitted to the car. It should prevent the roof from lifting if the wind gets under the edge as it did when driving to the trackday in France.
|
|
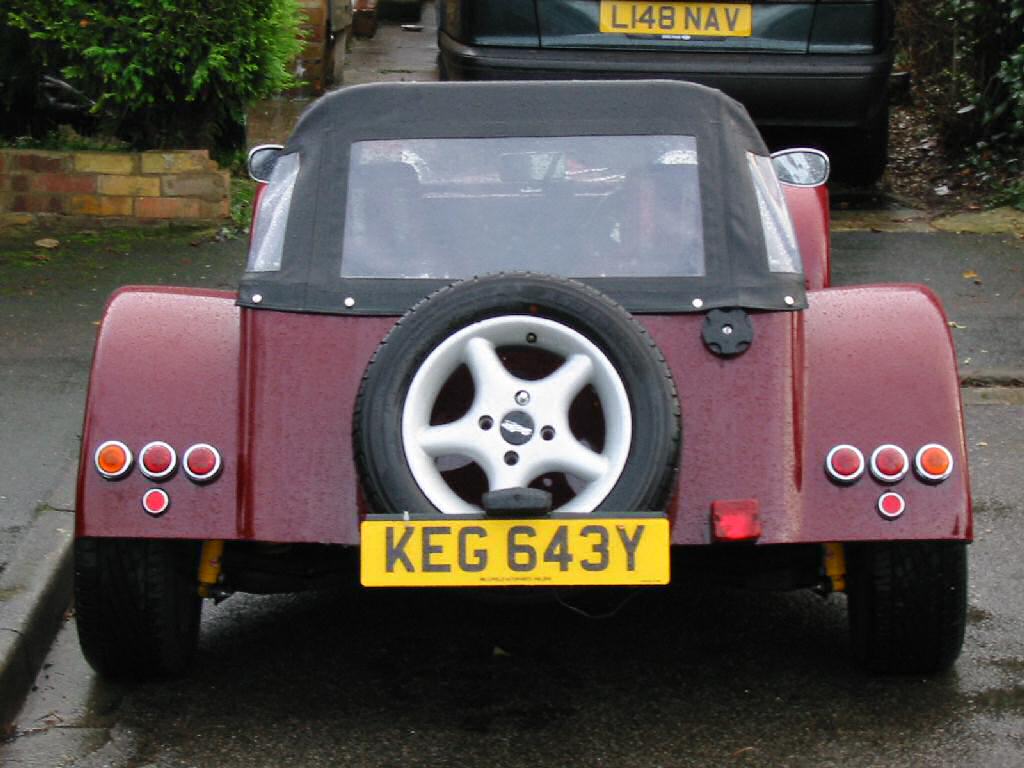
Fitting new lights
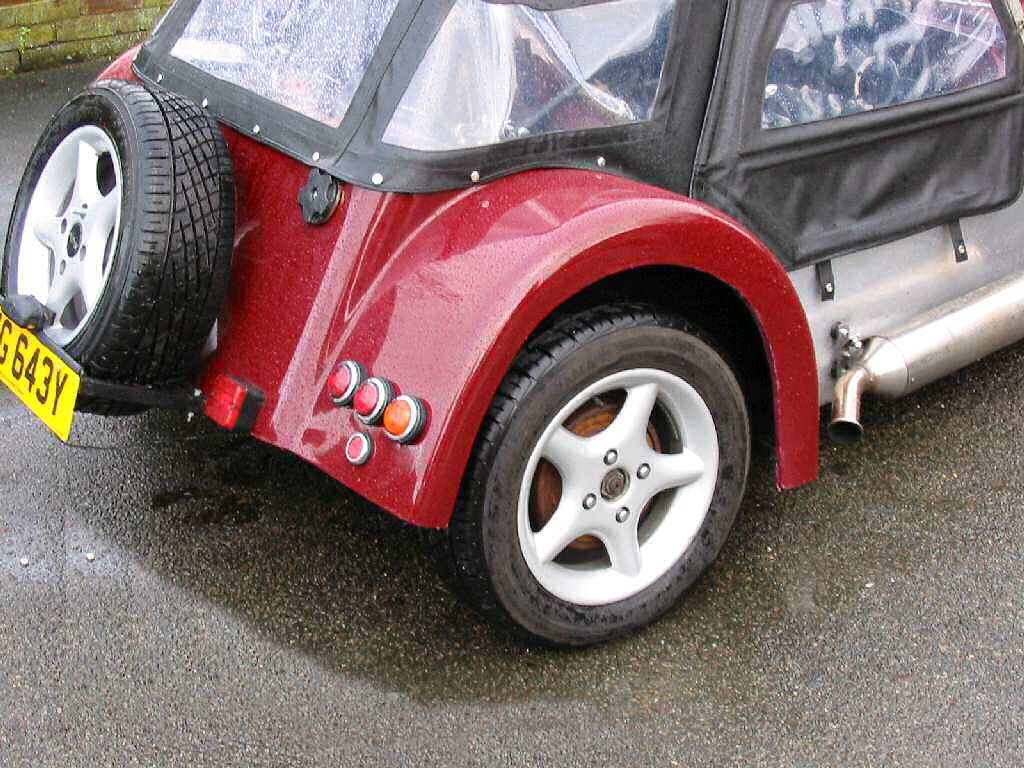
Of the original lights on the car only the fog lamp remains, the trailer style lights have been replaced with 3 round lights on each side and a new reflector as well.
The new lights did cause some problems - namely the wiring on the back of the car is not intended to have all the lights seperate as it only supplies a single earth wire to each side. This was solved by running extra cables between the lights themselves. I purchased the new lights from Tiger directly as they supply a nylon spacer ring which lifts the lights about 10mm clear of the wing. If this spacer wasn't in place then on the rear wheel moving because of hitting a kerb or similar the lights would hit the tyre and either be ripped out of the wing or puncture the tyre!
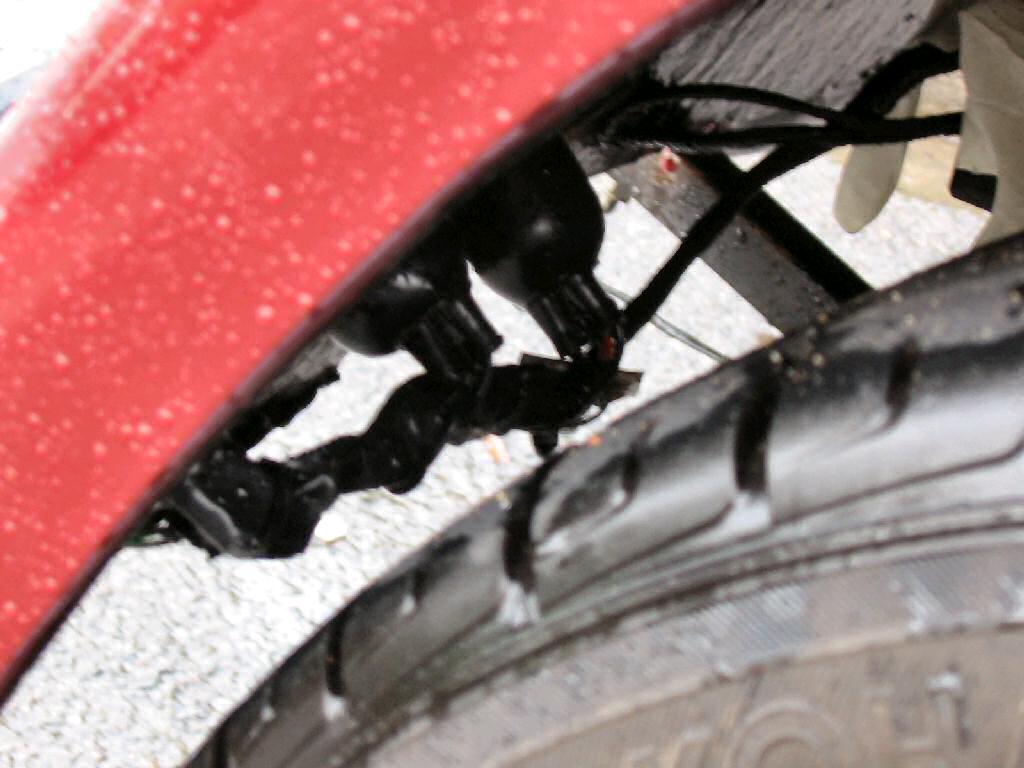
|

|